Whether you’re a homeowner, contractor, or DIY enthusiast, understanding these key factors is crucial for a successful and durable brick veneer project. From proper flashing installation to selecting the right mortar type, we’ll cover essential considerations that contribute to the longevity and performance of your brick veneer.
By following these guidelines, you’ll ensure effective water drainage, structural stability, and optimal aesthetic appeal. So, let’s dive into each item and equip ourselves with the knowledge needed to achieve a flawless brick veneer installation.
1. Continuous Flashing
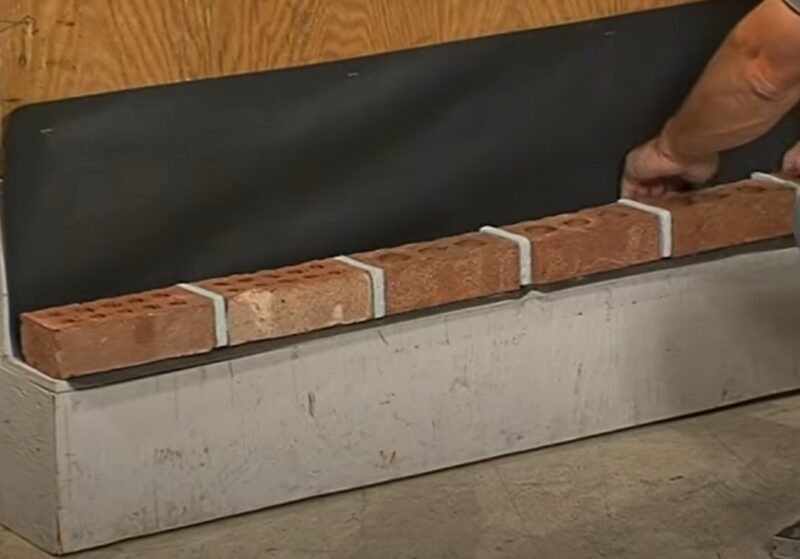
Ensure proper installation of continuous flashing beneath the first course of brick, including sills and heads of windows and doors in the brick veneer wall. Avoid using asphalt-impregnated felt and opt for self-adhered bitumen flashing like IPCO flashing or W.R. Grace Perm-a-barrier. Alternatively, set flashing in a continuous bead of sealant to prevent water penetration.
2. Weep Holes
Install weep holes at 24″ intervals for open head joint type weep holes. When using cotton sash cords as wicking material, space the cords at 16″ intervals.
3. Corrugated Sheet Metal Anchors

In one and two-family wood frame construction, ensure proper spacing of corrugated sheet metal anchors. Use one anchor for every 2.67 sq. ft. of the wall, with a maximum spacing of 32″ horizontally and 18″ vertically, centered with a minimum embedment depth of 1 1/2″ into the veneer bed joints (with 5/8″ mortar cover to the exterior face). Place anchors within 12″ of openings.
4. Air Space
Maintain a minimum of 1″ air space between the back of the brick veneer and the sheathing to facilitate adequate drainage.
5. Brick Selection
It is recommended to use Grade SW brick for most climates.
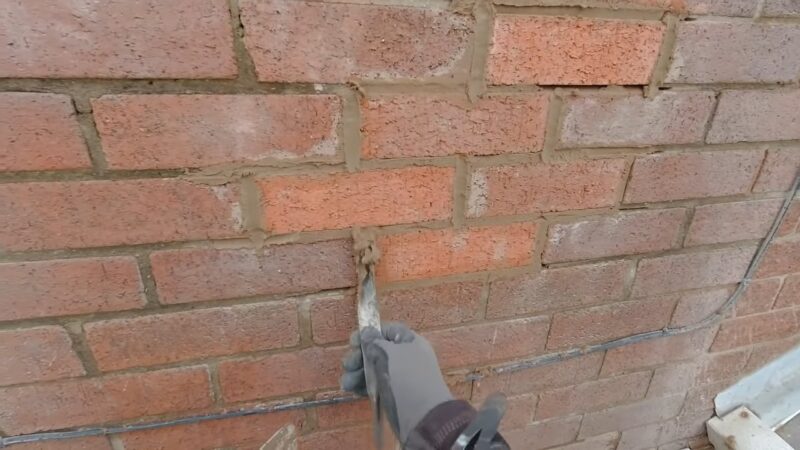
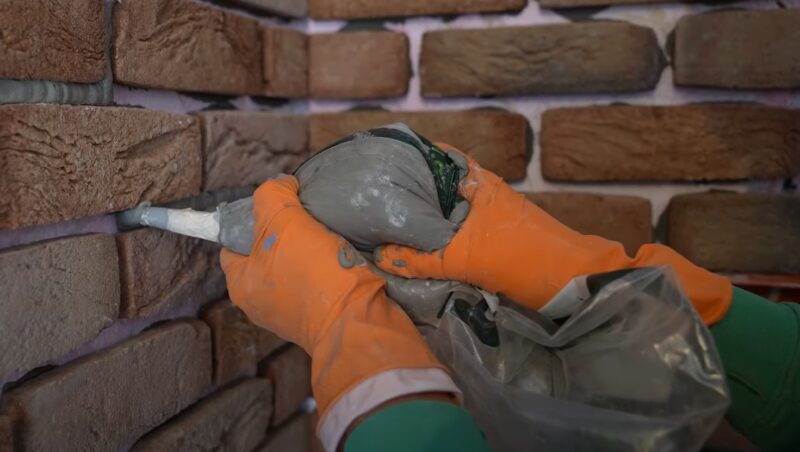
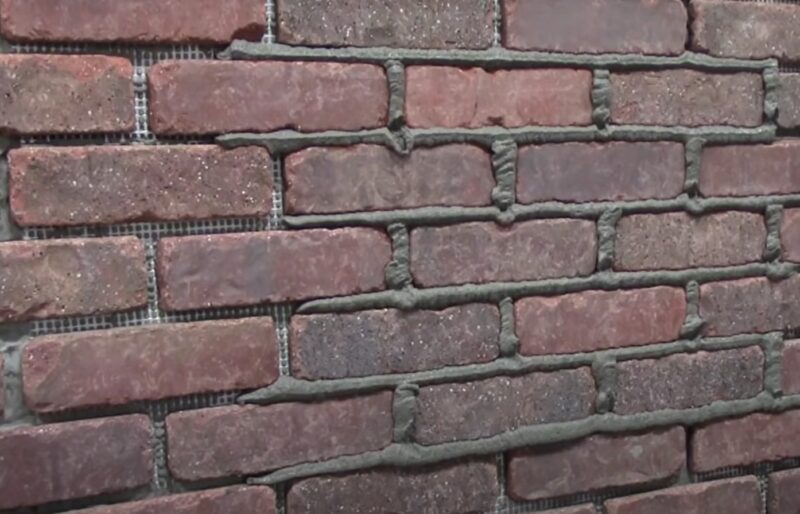
6. Mortar Type
Type N mortar is suitable for most brick veneers, but Type S may be required. Ensure that head joints and bed joints are fully filled with tooled vee or concave joints.
7. Foundation Alignment
The exterior face of the poured concrete or concrete block foundation should align with the finished brick wall plane. This alignment prevents horizontal water penetration into the building through the projecting concrete ledge. If the concrete wall is misaligned, set the flashing in mastic to prevent water entry. If necessary, the brick can overhang the foundation by 1/3 of the bed depth (with 2/3 bearing on the foundation) before a shelf angle is needed.
8. Finished Grade
The finished grade should be below the weep holes, ideally 2″ to 3″ below the flashing line. If the brick extends below the flashing, fill the gap between the brick and the foundation with grout or mortar.
9. Flashing Placement
Ensure that the flashing is positioned behind the building paper or house wrap, not in front of it. Placing the flashing incorrectly can allow water to seep between the flashing and the wooden sill plate.
10. Flashing Protection:
Use flashing end dams at the edges of openings and prefabricated flashing for both inside and outside corners to enhance waterproofing measures.
Completing a brick veneer project on a wood frame requires attention to detail and adherence to specific guidelines. By implementing the 10 major items we’ve discussed, you can safeguard your construction against potential issues such as water infiltration, improper anchoring, and structural instability.
From continuous flashing and weep holes to mortar selection and air space maintenance, each aspect plays a vital role in the long-term performance and durability of your brick veneer.
Remember, a properly executed installation not only enhances the visual appeal of your property but also ensures its protection and longevity. With this comprehensive guide, you’re equipped with the knowledge to embark on a successful brick veneer project.